How to Start a Family Vlog: A Beginner's Guide to Gear, Lighting, and Editing
A practical start-to-finish guide for families launching a first vlog, covering what to film, camera and audio choices, simple lighting setups, and editing that fits real life.
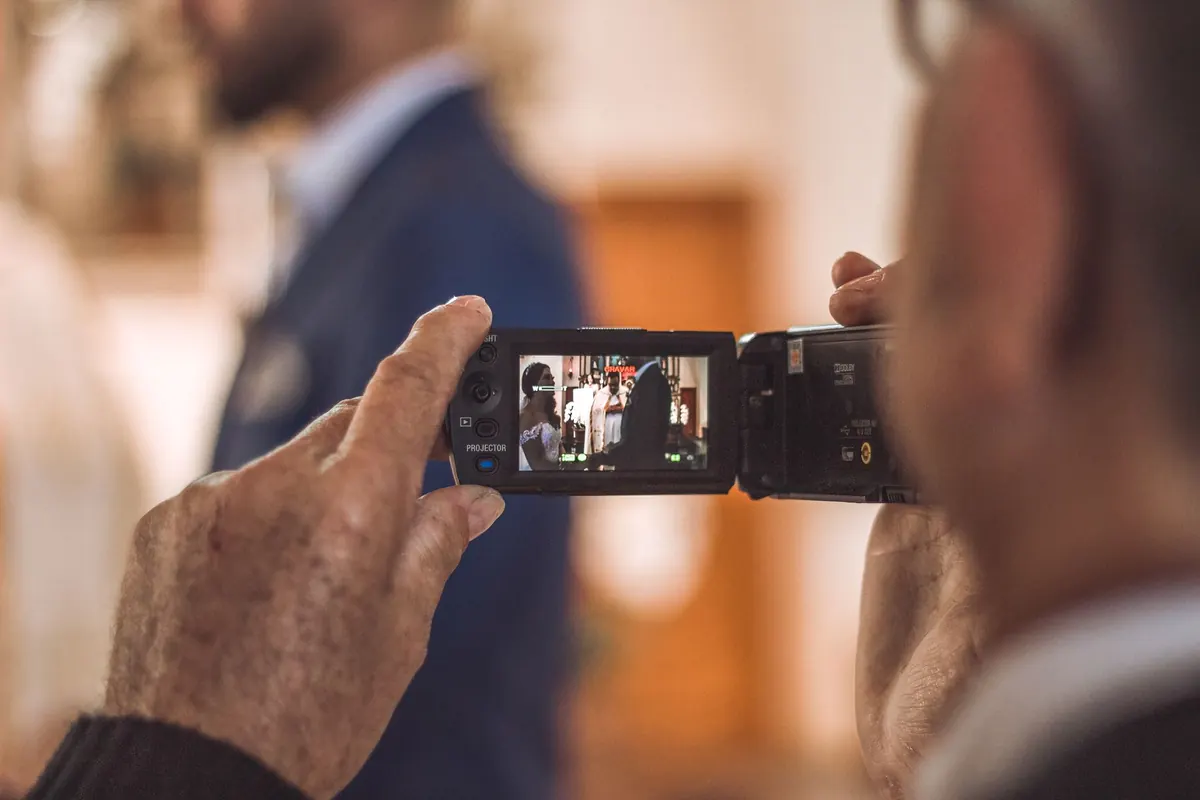
Every family vlog begins the same way: a shaky clip of someone talking over the sound of a dishwasher. The first video is never good, and that is exactly why it works. You find out what you actually enjoy filming before you spend money on gear you will never use.
What follows is the order that makes sense for beginners. Decide what you are filming, capture sound and light well enough to be watchable, then edit in a way that does not swallow your evenings. Set these things up once and you can get back to the part that made you want to try this in the first place.
Know What You're Filming Before You Buy Anything
Most first vlogs fail because they have no shape. "Our family life" is not a format. It is a category, and categories are hard to film on a Tuesday when everyone is tired.
Pick something repeatable instead. A Sunday kitchen session where the kids help with dinner. A monthly day-in-the-life where one person holds the camera from morning to bedtime. A series where a parent and child learn something together, one small skill per episode. These work because they come with a built-in beginning, middle, and end.
Write three sentences and keep them somewhere visible: who is in the video, what happens in it, and how often you post. Then decide two more practical things — who edits, and which evening you do it. Vlog channels usually die from unclear ownership, not from bad cameras.
Cameras: Start With the Phone in Your Pocket
The phone you already own will carry your first twenty videos. A clean lens, enough storage, and a stable surface matter more than sensor size. Shoot at 1080p and 30 frames per second at the start; the files stay small, your phone stays cool, and editing goes faster. Bump to 4K later if you want to crop into shots.
If you do buy a dedicated camera, look for three things: a screen that flips toward you, reliable autofocus that locks onto faces, and a microphone input. Compact point-and-shoot vlogging cameras and entry-level mirrorless bodies both cover this. An action camera earns its place for swimming, biking, and playground chaos, though it is a poor choice for indoor talking.
A gear list that covers most families
- A phone with a wiped-down lens and plenty of free storage
- A small tripod or flexible mount for table and counter shots
- A wired clip-on lavalier microphone, which costs little and improves everything
- A spare battery pack and a way to back up footage the same day
- One small LED panel with a diffuser, if your rooms are dark
Buy slowly. Borrow or rent before committing, and only add gear when you can name the specific problem it solves.
Audio Is the Part Viewers Notice
People will forgive soft focus and a slightly crooked frame. They will not forgive audio that sounds like a phone call from a tunnel.
Get the microphone close to whoever is speaking — a clip-on mic on a collar beats a camera ten feet away, every time. Record in rooms with soft surfaces: rugs, curtains, couches, beds. Kitchens and bathrooms bounce sound around and make everything echo. Before you hit record, close the windows, pause the dishwasher, and listen for the fridge hum you have stopped hearing.
One habit saves hours later: clap once at the start of each take. The sharp spike makes it easy to line up separate audio in your editor. And when the kids shout over each other, let it happen. Real noise from a real kitchen is warmer than silence.
Lighting a Living Room Like a Small Studio
Your best light source is already installed and free. Windows make faces look soft and natural, and the setup takes ten seconds: put people facing the window, stand between them and the glass with the camera, and never film with a bright window behind your subject. Morning and late afternoon tend to be gentler than harsh midday sun.
Inside, avoid mixing light sources. Overhead bulbs, a lamp, and daylight all have different color temperatures, and the result looks muddy on camera. Turn off the overheads and work with the window, or close the curtains and use one light. When you need more, a single LED panel with a diffuser placed slightly to one side of the face is enough. Angle it down toward your family, not up at the ceiling, and bounce it off a white wall if the shadows feel too hard.
Editing Without Losing Your Weekends
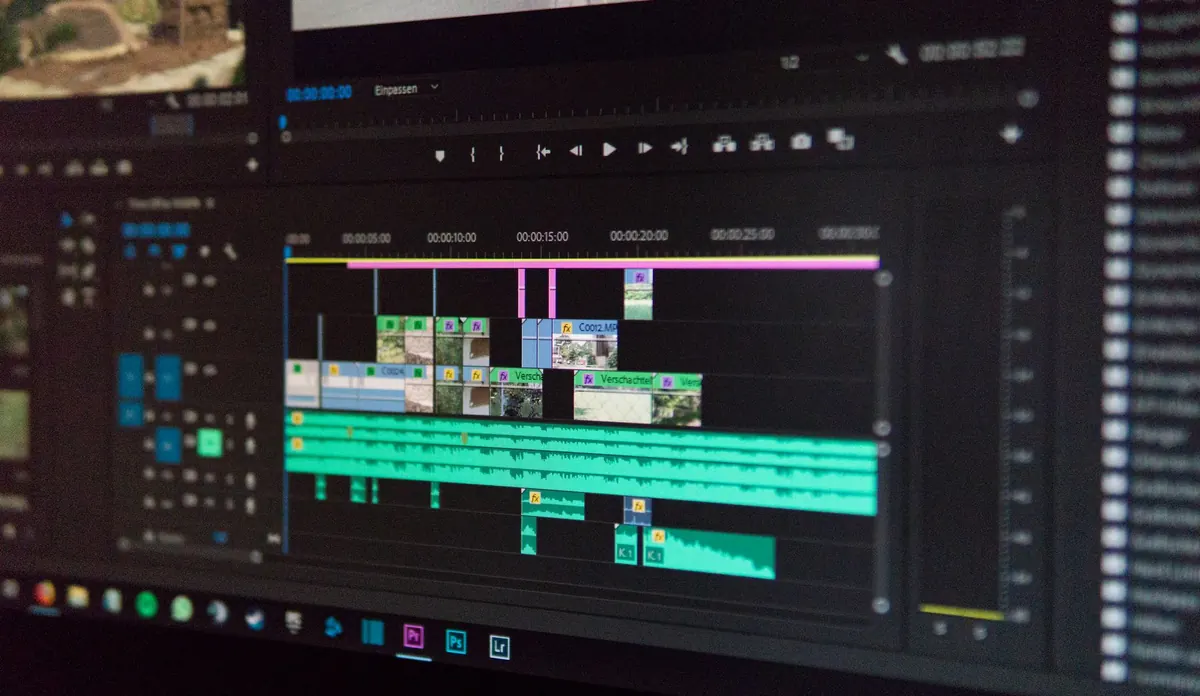
Choose one editing app and learn four things: trimming, adding a title, adjusting volume, and exporting. That is genuinely all you need for the first few months. Free phone editors handle this well, and desktop software gives you more room later.
- Move the day's clips into one folder and delete the obvious mistakes immediately.
- Choose five to ten moments that actually say something. Fewer clips, better video.
- Trim the first two seconds off each clip — that is where people fumble and look at the camera.
- Build a simple arc: a quick hook, the main activity, one small laugh, a clear ending.
- Level the audio so voices sit at a comfortable, even volume.
- Add a title, use music you are licensed to use, and export at 1080p.
Keep early videos between four and eight minutes. Watch your cut once with the sound off; if the story still makes sense, your visuals are doing their job.
Posting something imperfect beats posting nothing at all. The videos you make this month are practice, and practice is the only thing that makes the next one better.
One thing worth slowing down for: your children's privacy. Talk as a family about what gets filmed and what stays off the channel, and ask older kids whether they want to appear. If you are unsure about permissions, school policies, or monetizing videos with your kids in them, check your platform's rules and speak with someone qualified in your area before you build a channel around it.
Your First Four Weeks
Week one: film one short video and post it with no editing at all. Get comfortable hitting publish.
Week two: add a title and a trimmed opening, and keep the length under three minutes.
Week three: use the mic and film near a window. Notice how much less work the edit takes when the footage is clean.
Week four: settle on a posting day and stick to it. Keep a running note on your phone of ideas — the birthday tradition, the playground challenge, the recipe that always goes wrong. That list will save you on the weeks when inspiration is thin.
Do not delete your early videos, even the awkward ones. They show how far you have come, and viewers tend to love the rough beginning. Start small, keep the setup simple, and let the channel grow at the pace your family can actually sustain.
Photo: Jhefferson Santos / Pexels